REVIEW · SIEM REAP
Full Day Tour Photography in Siem Reap
Book on Viator →Operated by Cambodia Trip Insider · Bookable on Viator
Early light at Angkor Wat changes everything. This full-day Temple Photography Tour is built around that magic window, then keeps going through classic Angkor sights with smartphone-friendly guidance. You’ll get picked up early, driven between stops in an air-conditioned vehicle, and coached on how to frame Khmer stone and sky in a way that actually works.
What I like most is the hands-on approach. The English photographer guide doesn’t only talk history; you’ll practice shot ideas and learn techniques that transfer directly to your phone camera. I also really like the small comfort touches: a breakfast box with brewed coffee, bottled water, and cold towels so you’re not running on empty before you start shooting.
One thing to plan for: the day starts very early (the tour begins at 1:00am). If you’re not a morning person, you’ll need to treat this like a mission, not a casual stroll. Also, cameras and photography gear are not included, so bring what you’ll shoot with.
In This Review
- Key Highlights You’ll Notice Right Away
- Full-Day Temple Photo Game Plan: Sunrise to Tree-Root Drama
- Price and Value: What $49 Buys in Siem Reap
- 1:00am Pickup and the Rhythm of an Early Start
- Angkor Wat Sunrise (4:30am to 7:00am): Color, Silhouette, and Calm Shots
- Angkor Wat Exploration After Sunrise: Spires, Courtyards, and Details
- Bayon and the South Gate of Angkor Thom: Stone Faces and Strong Composition
- Ta Prohm’s Rooted Temples: Where Nature Becomes Part of the Frame
- Guide-Led Photography: English Coaching for Phones and Cameras
- What’s Included (and What You Should Bring)
- Who This Tour Is Best For (and Who Should Skip It)
- Should You Book This Temple Photography Tour?
- FAQ
- What time does the tour start?
- How long is the tour?
- Will there be sunrise photography at Angkor Wat?
- Is pickup included?
- Is admission included?
- What does the tour include besides the guide?
- Are meals included?
- What is the cancellation policy?
Key Highlights You’ll Notice Right Away
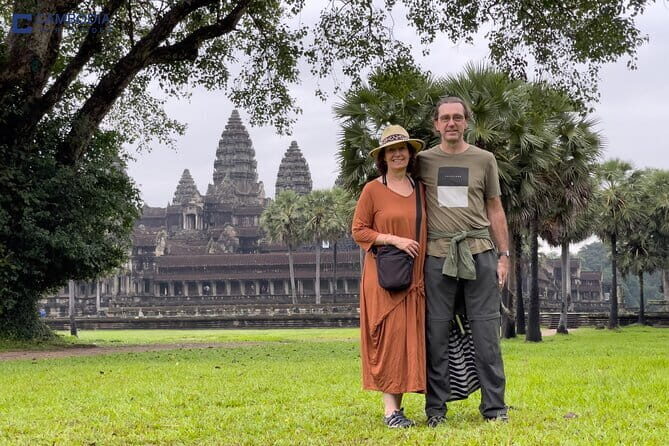
- 1:00am start time sets you up for the 4:30–7:00am sunrise window at Angkor Wat
- English photographer guide focuses on how to take better photos, including with your smartphone
- Multiple temple photo stops with admissions included for key parts of the route
- Breakfast box with brewed coffee plus bottled water and cold towels to keep you steady
- Maximum 15 travelers keeps the pace controlled for photo stops
- Mobile ticket makes check-in simpler than paper-only systems
Full-Day Temple Photo Game Plan: Sunrise to Tree-Root Drama
This tour is designed like a photography workflow. It starts when the light is soft, then moves through the main “photo hits” while the day’s mood shifts. That matters because Angkor isn’t just a checklist. You’re photographing stone faces, towering spires, and the way nature grabs the edges of ancient buildings.
You also get the big advantage of having a guide who thinks in angles. Instead of you wandering until something looks good, you get nudged toward spots and timing that match what you want to capture. The focus is practical: how to compose, what to include, and how to make the scene readable in a photo even when you’re dealing with huge structures.
You can also read our reviews of more photography tours in Siem Reap
Price and Value: What $49 Buys in Siem Reap
At $49 for about 7 to 8 hours, this tour is priced like an efficient, guided day. You’re paying for more than just transport. Included basics matter here: air-conditioned vehicle, bottled water, cold towels, and a breakfast box with brewed coffee. Those items reduce friction when you’re starting before sunrise.
On top of that, you’re getting an English photographer guide and admission included at multiple key segments. Even though meals aren’t included (so you’ll plan your own lunch), the core costs of a temple-focused morning are covered in the tour.
Value is highest if you fit the tour’s intent: you want a guided photography plan and you’d like someone to help you translate what you see into a photo—especially if you’re shooting mostly on your phone.
1:00am Pickup and the Rhythm of an Early Start
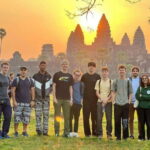
The tour starts at 1:00am, and that’s not random. It’s there so you can reach Angkor Wat for sunrise from 4:30am to 7:00am. That early timing is the heart of the experience, because sunrise light gives you long shadows and sky color changes that you simply won’t get later.
For planning your morning, think like a photographer: you’ll want to be ready to move quickly once you arrive. Wear something you can walk in comfortably, and keep your phone or camera accessible. Cold mornings can also make screens harder to use, so don’t hide everything at the bottom of your bag.
You’ll likely feel the early start most on your first stop, then it becomes momentum. By the time you’re at Bayon and Ta Prohm, you’re past the hardest part of the schedule.
Angkor Wat Sunrise (4:30am to 7:00am): Color, Silhouette, and Calm Shots
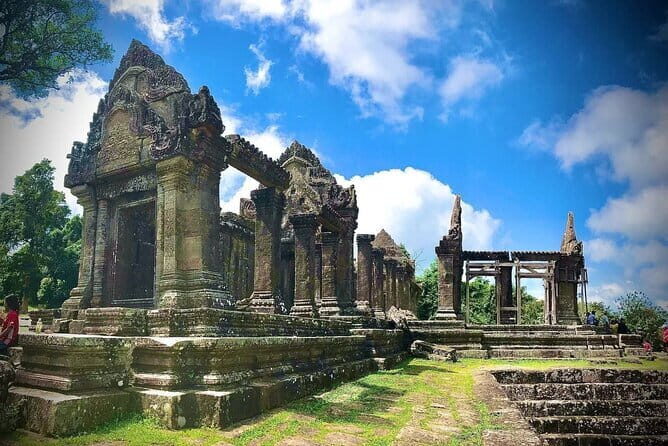
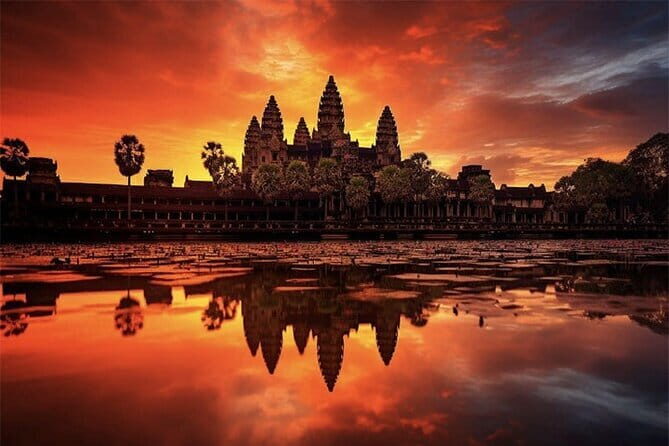
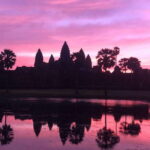
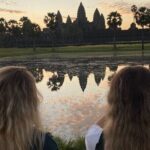
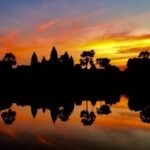
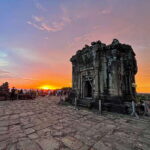
Sunrise at Angkor Wat is the tour’s headline. The goal during this window is simple: capture the changing sky tones and the temple silhouette as the light shifts. This is where photo planning really pays off, because the “best” look isn’t permanent. It changes every few minutes.
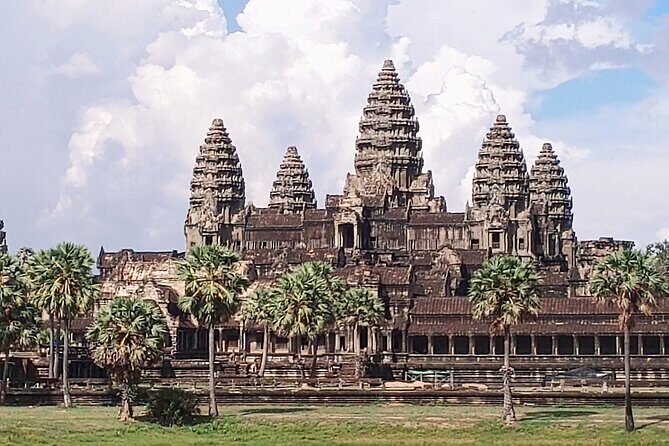
This is also a great time to practice composition. Angkor Wat’s symmetry gives you an easy structure to work with. You can frame the temple with the horizon line, use stair angles to lead the eye, and capture reflections where conditions allow.
A photographer guide is especially useful here if you’re on a smartphone. Sunrise scenes can trick phones: highlights can blow out and shadows can get too dark. You’ll get guidance that helps you manage the exposure and framing so your final image feels like what you saw.
What to watch out for: sunrise means the temperature and light are both in transition. If you expect a perfectly stable “one shot and done” moment, you’ll be disappointed. Go for multiple attempts during the window instead.
Angkor Wat Exploration After Sunrise: Spires, Courtyards, and Details
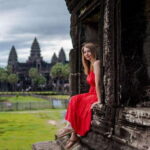
After sunrise, you continue at Angkor Wat again for about 2 hours. Here the emphasis shifts from sky drama to architecture. You’ll spend time appreciating the scale—Angkor Wat is the largest religious monument in the world—and focusing on the visual storytelling carved into the stone.
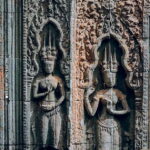
This second stop is where you can move your lens closer. Bas-reliefs become the main subject: the carved scenes, layered patterns, and the texture of the rock. Instead of trying to photograph everything at once, you’ll get better results by isolating key details—faces, repetitive motifs, and the way courtyards pull your eye inward.
A practical note for your gear: phones do fine, but if you use a camera, this is a good moment for different focal lengths. Wide views show the monument’s geometry; tighter shots help you avoid the common problem of photos that look like a distant building rather than a crafted work of art.
Also note the tour includes an admission ticket for this part as well, with the second Angkor Wat segment marked as admission ticket free. Either way, the important takeaway for you is that Angkor Wat coverage is built in, so you won’t need to scramble to figure out fees on the fly.
A few more Siem Reap tours and experiences worth a look
Bayon and the South Gate of Angkor Thom: Stone Faces and Strong Composition
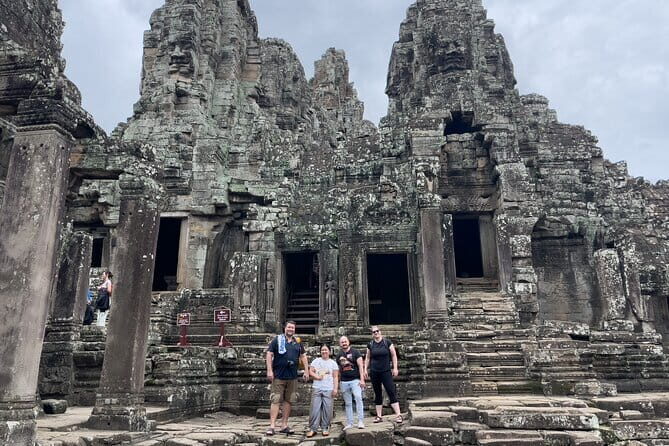
Next comes Bayon Temple and the entrance area at the South Gate of Angkor Thom, where you’ll photograph the iconic carved faces. This zone is all about impact. The faces are close enough to be expressive, but they sit within a broader setting that still gives you context: towers, gateways, and lines that pull the eye into the temple complex.
This is a place where I’d focus on framing choices that make the faces feel alive. Try shooting from angles that keep the face centered and avoid distractions around the edges. If you’re using a smartphone, keep an eye on perspective—your phone can exaggerate nearby lines if you’re too close, which can either help you (dynamic portrait style) or ruin the balance.
The tour includes admission at Bayon, so you can spend your mental energy on composition instead of logistics. The stop is also short compared with Angkor Wat’s sunrise and exploration sections, so treat it like a sprint: decide quickly what you want to capture and shoot in sequences rather than waiting for one perfect moment.
Ta Prohm’s Rooted Temples: Where Nature Becomes Part of the Frame
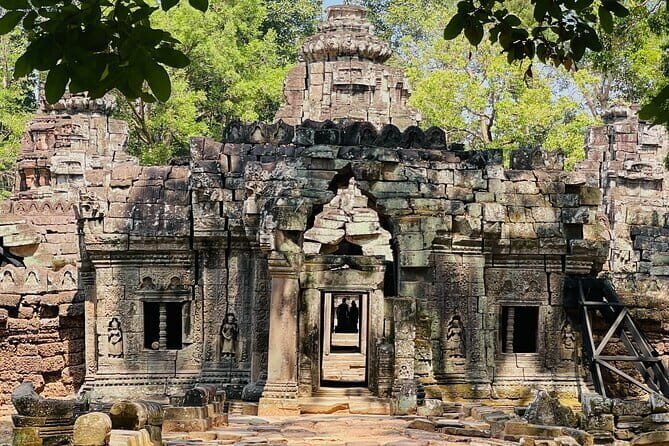
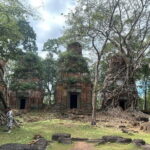
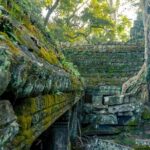
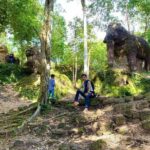
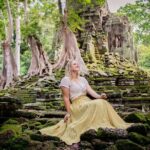
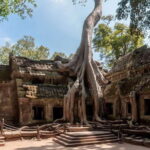
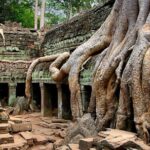
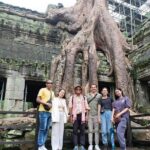
Ta Prohm is the final big photo stop, and it’s a different mood from Angkor Wat. Instead of pure symmetry and clean lines, you’re photographing the way massive tree roots tangle with the ancient structures. That mix of nature and architecture creates a more mystical, storybook look.
From a photography standpoint, this stop rewards patience and layering. Don’t just point and shoot the entire temple façade. Use framing to show how roots travel through doorways and over stone edges. If you find a subject that repeats—like roots forming an arch or crossing a window line—shoot it several ways: wider context, then tighter detail.
If you’re on a smartphone, this is also where the guide’s coaching tends to help a lot. Mixed scenes can confuse autofocus, and high-contrast light filtering through leaves can make exposures inconsistent. You’ll get practical pointers to keep the scene balanced and readable.
Admission is included here as well, so Ta Prohm fits neatly into the tour without extra fee thinking.
Guide-Led Photography: English Coaching for Phones and Cameras
One of the most praised aspects of this tour is the guide’s ability to teach real photography habits, not just temple facts. The photographer English guide approach means you’re learning what to do with your camera or phone on the spot.
From what you can expect, guidance often includes:
- where to stand for better framing
- how to simplify a busy scene into one clear subject
- smartphone technique help, not just camera talk
- tips for finding a strong shot spot during each stop
The fact that coaching explicitly includes smartphone photography is a major value point. You don’t have to bring expensive equipment to get results. If your phone is your main camera, this tour is set up for that reality.
Just remember: the tour includes breakfast, water, and towels, but it doesn’t include cameras or gear. If you want stable shots, bring what you can (for phones, a small grip or lightweight support can help, if you already use one).
What’s Included (and What You Should Bring)
This is a good day when you travel light. Here’s what you can count on:
- Air-conditioned vehicle between stops
- Photographer English guide
- Bottled water
- Cold towels
- Breakfast box plus brewed coffee
Not included:
- Meals (so you’ll need to plan lunch or snacks on your own)
- Cameras/equipment
- Tips are not mentioned in the itinerary, so budget as you normally would
What I’d pack for comfort and photo control:
- your main camera/phone and any chargers or spare batteries
- a light layer for the early morning
- something to protect your phone from dust and humidity
- water you can keep in your bag even after the provided bottle (because you might want extra)
Who This Tour Is Best For (and Who Should Skip It)
You’ll enjoy this most if:
- you want a photo-focused day, not a general sightseeing loop
- you want coaching for your smartphone camera
- you like structured timing, especially around sunrise
- you prefer smaller group energy (max 15 travelers)
You might skip it if:
- you want a totally flexible schedule and long unstructured wandering
- you’re not interested in photography guidance at all
- you hate early starts enough that 1:00am feels like a deal-breaker
This tour fits well with couples, solo travelers, and anyone who wants practical instruction. It’s also ideal if you’re returning from a long travel day and want someone to organize your photography priorities for you.
Should You Book This Temple Photography Tour?
Yes, if you want the most efficient way to capture Angkor’s key “photo moments” with an English photographer guide and real coaching for phone cameras. The combination of early timing for sunrise, included comfort items (breakfast box, coffee, water, cold towels), and admission coverage at major stops makes it feel like more than a basic transport service.
Book it if you’ll actively shoot and ask for guidance. If you want to stroll quietly and take one or two casual photos, you may find it feels a bit fast-paced. But if you show up ready to learn how to frame and shoot, this is a strong value day at $49.
FAQ
What time does the tour start?
The tour start time is 1:00am.
How long is the tour?
It runs about 7 to 8 hours.
Will there be sunrise photography at Angkor Wat?
Yes. The sunrise time at Angkor Wat is scheduled from 4:30am to 7:00am.
Is pickup included?
Yes, pickup is offered.
Is admission included?
Admission is included for key stops. Angkor Wat sunrise lists admission ticket included, and Bayon Temple and Ta Prohm also list admission ticket included (the second Angkor Wat segment is marked as admission ticket free).
What does the tour include besides the guide?
You get an air-conditioned vehicle, bottled water, cold towels, and a breakfast box with brewed coffee.
Are meals included?
Meals are not included (only the breakfast box is provided).
What is the cancellation policy?
Free cancellation is available up to 24 hours in advance for a full refund. If you cancel less than 24 hours before the start time, the amount paid is not refunded.